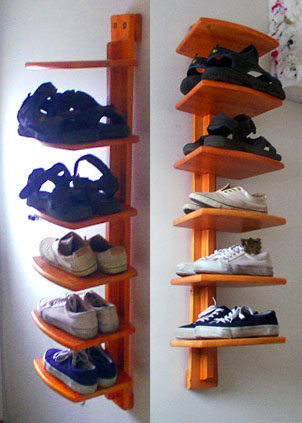
Shoe Rack
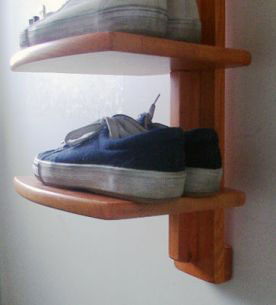
The design includes a fairly subtle curve on the back, with a spine that helps to reinforce the shelves. Shelves and spine have a matching half thickness notch to help reinforce them for the weight. It is mounted on 2 dowels that are embedded on a wood block screwed to the wall. An equivalent block is attached to the bottom of the rack to keep it spaced from the wall. This allows you to see the wall behind, and helps keep it from being too heavy (sort of the effect of legs raising furniture off the floor).
Done in knotty pine (laminated craft boards from the Borg - because they were around and this was supposed to be a prototype, and I didn’t want to use them for anything really good). Stained with a Colonial Maple gel stain, with a satin polyurethane (Varathane brand) for waterproofing.
I will admit, These panels were crap - thickness was not consistent on all of the strips, and I found it hard to work with because it was extremely soft and had some awful grain reversal around the knots.
The plans aren’t much, and they’re pretty rough, but they’re available on the Plans page.
Edit: I would consider moving the dowels from the top of the hanger to the bottom. Currently it causes quite a bit of flex between the wall due to the weight being concentrated on the mounting screws located at the bottom. This is also due to it being anchored to strictly drywall, as there was no stud in the wall in the only area it fit. Alternatively, placing the mounting screws in the top above the dowels would likely alleviate the issue as well. Either change would allow the bottom of the mounting plate to provide more support with less flex or movement.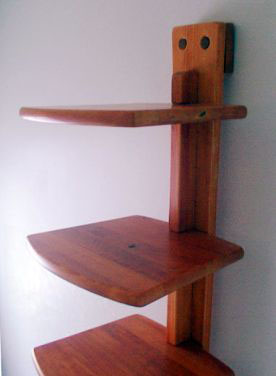 |
 |
I learned a couple of things along the way - such as:
- Don’t shake your finish to mix - it introduces air bubbles that do not work themselves out before the finish dries.
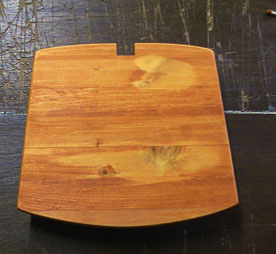
- Don’t spot sand when you’re staining. An example of this is here below - it drastically changed the absorption of the gel stain I was using.
- Gel stain allows you to use a dry brush technique - you can build up the amount of colour to make it match where you did screw up (example also below).
- Sanding edge grain 2 grits higher than the rest helps even out absorption so it is the same tone/colour.
|
 |
 |
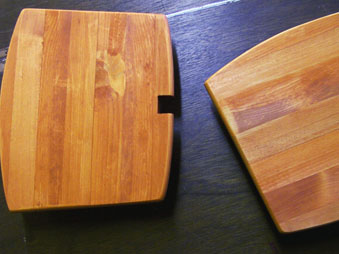
On the left are the same 2 shelves as above. I managed to blend the blotches out applying thin layers of gel stain very lightly and letting it dry until it built up the colour to match.
 |
Additional notes:
It’s seen almost a year of use now, and suffered minimal
damage. While it’s no Chippendale cabinet - it's a
nicer piece than I've found in any store, and it fits the
bill
perfectly.
|
All Materials not credited to other authors is (c)2003 - 2008 Paul R. Morin.